

DIY Custom Wheel Sticker Design - Make Your Own Emblem
The first time I designed my own wheel sticker, I was in a cold parking lot with a hair dryer in one hand and a tiny circle of vinyl in the other, convinced I was about to ruin the front end of my car. On my laptop the emblem looked sharp and premium; on the wheel it turned into a blurry grey dot you could barely see unless your nose was almost touching the hub.
Driving home that night, I watched other cars at the lights and realised something important: the badges that look good from a distance all follow the same recipe. Simple shapes. Strong contrast. Very little detail. My “artistic” design had none of that, and that failure pushed me to treat the next emblem like a real branding project instead of a rushed doodle.

Start with one clear idea
Before I open any design software now, I ask one question: what is the single idea this emblem should communicate? That quick check alone has saved me from wasting money on overcomplicated designs.
Your idea can be as simple as:
A letter or monogram
A number like your favourite year, lucky number or engine size
A symbol or icon that only you and your friends understand
My mistake was trying to squeeze a whole story into a 56 mm circle. When I went back to one element – a single bold letter on a solid background - the design suddenly looked more premium and easier to read from a few metres away.
Learn from real-world designs
Social media is full of logo inspiration, but nothing has helped me more than looking at real products. Before I draw anything, I spend a few minutes browsing categories like Wheel Emblems and Domed Emblems, paying attention to what my eye jumps to first.
You quickly see the same pattern:
Strong contrast, light on dark or dark on light
Only two or three colours in total
Big confident shapes and thick lines
Very little text, usually one or two characters
The best designs almost look “too simple” on a zoomed-in photo, yet perfect from a distance. If your sketch looks thin, busy or hard to read next to those examples, simplifying it will usually fix the problem.
Turn your sketch into a clean digital emblem
Once I have a clear idea and a feel for what works, I finally open a design tool. Wheel emblems rely on basic geometry and flat colour, so even simple software is enough.
I sketch quickly on paper – a rough circle, a letter or symbol, different thicknesses - and then recreate the best version digitally:
Draw a perfect circle and centre your emblem inside it
Use bold fonts and thick strokes so nothing disappears at small size
Limit yourself to three colours with strong contrast
Avoid tiny shadows, gradients or micro-details that will vanish on the wheel
Then I do the “coin test”: I zoom out until the design on the screen is roughly coin sized. If I cannot instantly read the symbol, I simplify again. That tiny test has saved me from ordering muddy, unreadable custom wheel stickers more than once.
Choose the right type of wheel emblem
Once the design looks good, you need to decide how it will live on the car. The material and finish change the whole personality of your wheel centre.
If you want ready-to-install badges with your artwork printed and cut to size, classic flat wheel stickers are an easy choice and give a subtle, OEM-plus look. They suit daily drivers, winter wheels and anyone who prefers a quiet, clean style.
If you are chasing that premium 3D effect that feels like an original badge, domed styles are hard to beat. The clear resin layer catches the light and makes colours look deeper and richer. A domed custom wheel centre sticker is the closest match I have found to chrome trim and factory badges, and it makes the modification feel like it came with the car.
Flat vinyl whispers; domed emblems speak a little louder. Both can look great as long as the underlying design is bold and simple.
Measure once, not three times
I wish I could say I nailed the size on my first try. I did not. My first custom emblem order was a few millimetres too big, so the edges hung over the cap and started to lift at the sides much sooner than they should have.
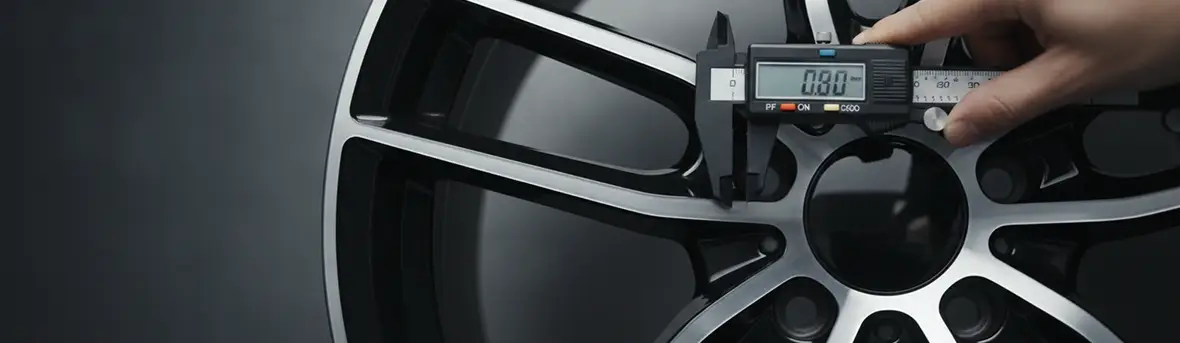
Now I treat measuring as its own mini-project. I measure only the flat part of the centre cap with a ruler or, ideally, a calliper. Not the whole cap, not the lip – just the flat circle where the sticker will sit. I write the size down and keep it in my notes so I never have to guess again.
If you have never done this, it is worth reading the blog article How to Measure and Choose the Right Wheel Emblem Size once. It shows you exactly where to measure, how to note the size and how to match it to the options you see online. With that number saved, you can reuse it for every future set for that car.
Install without panic
My first install session was pure drama. I cleaned the wheels three times, lined up the emblem, misaligned it anyway, peeled it back up, then panicked that I had ruined the adhesive. Now, after a few sets, it is a calm five-minute job.
My routine now looks like this:
Wash the wheels and dry them completely
Clean the centre caps with alcohol and a lint-free cloth
Peel the backing without touching the sticky surface
Line up the emblem with a spoke or the valve so all four wheels match
Press down from the centre outward to chase out any air
If one wheel ends up slightly crooked, I do not stress. The next one will be better. Taking your time on that first emblem makes the rest much easier, and once you have installed a few sets you will be tempted to try new designs more often.
Fix the most common problems
After playing with centre cap graphics on my car and on friends’ cars, I keep seeing the same issues - all of them fixable.
If the emblem looks muddy, it is usually low contrast or too many colours. Simplify the palette and increase the contrast between background and symbol. If the design feels cheap or messy, it is often because of thin lines or cluttered details; make strokes thicker, remove decorative flourishes and focus on one strong element that carries the whole emblem.
If edges start peeling, the size or the surface preparation was off. Double-check your measurements next time and clean more carefully before the next install. A customised wheel emblem needs a clean, dry, flat surface to stick properly and stay there through washing and bad weather.
Why it is worth doing
Designing your own car logo for the wheels sounds like a small cosmetic project, but it changes how you feel every time you walk up to the car. Instead of a blank plastic disc, you see your own mark spinning with every kilometre and appearing in every photo.
Once you have one good design in place, the car suddenly looks more personal, even if nobody else notices the change right away. For a tiny circle of colour, a custom wheel sticker has a surprisingly big effect on how “yours” the car feels.
Quick Q&A
Q: How do I pick the right size for my custom wheel sticker?
Measure only the flat part of your centre cap with a ruler or calliper and match that number with the size options shown in the product listings.
Q: Are domed emblems really better than flat stickers for wheels?
For most cars, yes. A 3D resin layer makes colours pop and usually stands up better to weather, UV and washing than flat vinyl, while flat stickers work well for a quieter, more understated look.
Q: Can I change the design later without damaging the wheels?
Yes. Warm the emblem gently with a hair dryer, peel it off slowly and clean any leftover adhesive; then you can install a fresh personalised hubcap emblem using the same steps as before.