


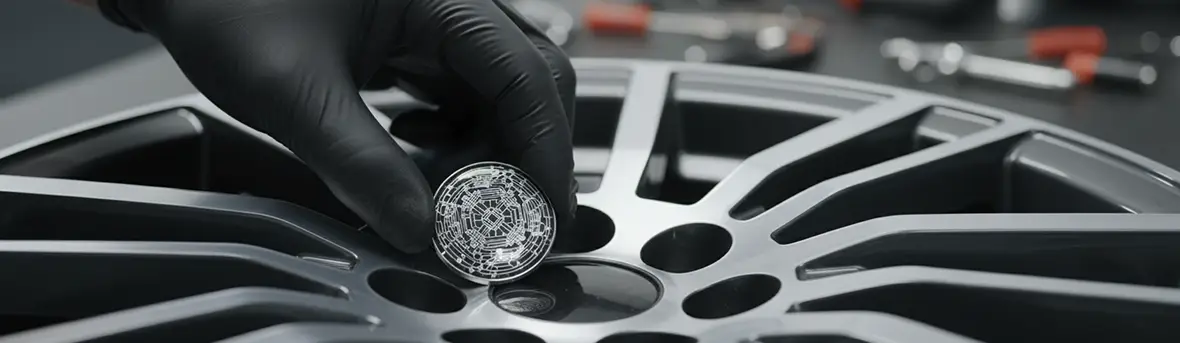
Step-by-Step: Installing Hubcap Stickers Like a Pro
To install a wheel emblem or apply a hubcap decal like a pro, you clean the center cap, line up the logo so it’s straight, press evenly, and let the adhesive cure before washing. This guide walks you through full DIY wheel sticker installation, so your new emblem looks factory — whether it’s a BMW roundel, Toyota badge, Audi rings, Ford oval, or a custom design from Wheel Emblems and Domed Emblems.
Below is the full process, start to finish.
Before You Start: What You’ll Need
Mild car-safe soap and water
Microfiber cloth
Isopropyl alcohol (rubbing alcohol)
Lint-free wipe or paper towel
The new hubcap decal / wheel emblem
Optional: hair dryer or low-heat gun (especially for domed/3D emblems)
Clean hands and decent light
This sounds basic, but surface prep is 80% of pro-level results.
Step 1. Clean the wheel center cap
The first step in any proper DIY wheel sticker installation is a clean surface.
Wash the wheel center cap area with mild soap and water to remove brake dust, road grime, or tire dressing.
Dry it completely with a microfiber cloth.
Wipe the exact application zone with isopropyl alcohol. This removes grease and fingerprints so the adhesive can grip.
Do not skip alcohol wipe. If there’s oil or dirt, even the best adhesive from a premium Domed Emblem won’t bond at full strength.
Step 2. Test-fit and align the decal
Before you actually stick it down, do a dry fit. Hold the emblem over the center cap where you plan to install the wheel emblem.
Check that the size matches the flat “target circle” on the cap.
Rotate the decal to the correct orientation.
This matters a lot for branded logos:
A BMW roundel that’s tilted looks instantly “off.”
A Toyota logo that leans looks cheap, even if the sticker itself is high quality.
Same for Audi rings, VW logos, Ford oval, etc.
Tip: use the valve stem or a straight spoke as a visual reference for “level.”
This alignment step is what separates clean, OEM-looking installs from “yeah, I can tell you did that in the parking lot.”
Step 3. Peel the backing carefully
Now you’re ready to actually apply the hubcap decal.
With clean, dry hands, peel the backing off the adhesive.
Try not to touch the sticky side with your fingers — skin oils reduce bond strength.
Hold the sticker by the edges.
If you drop it in brake dust, don’t “blow it off and hope.” Wipe the cap again and use a fresh emblem if the adhesive is contaminated.
Step 4. Place and press (the important part)
This is the make-or-break moment.
Gently position the sticker in place without fully pressing yet.
When you’re lined up, press the center of the emblem straight onto the cap.
Then work outward in a slow, circular motion to push out any trapped air and fully seat the edges.
Focus on edge seal.Most failures happen at the edges. If the perimeter is firmly seated, water and wash pressure have a harder time getting under the decal.
This is especially true with a domed, 3D wheel emblem from Domed Emblems, because domed stickers are a little thicker and you want that “bubble” to sit smooth and even.
Step 5. (Optional but pro): Gentle heat for domed emblems
For thicker, resin-style, 3D wheel emblems:
Apply very gentle warmth with a hair dryer or low setting on a heat gun.
Don’t cook it — you just want it slightly warm, not hot.
What the heat does:
Softens the adhesive so it flows and bonds to micro-texture in the cap.
Helps the domed emblem relax and sit perfectly flat.
This step is small, but it’s how professionals lock in long-term adhesion on curved or slightly imperfect center caps.
Step 6. Let it cure
After you install the wheel emblem:
Avoid touching, twisting, or “checking if it’s stuck.”
Avoid washing the car or blasting the wheels for about 24 hours.
Avoid extreme rain/pressure if possible that first day.
Adhesive is pressure-sensitive and time-sensitive. Give it time to fully grab before you throw road salt or high-pressure wash at it.
Do’s and Don’ts (Read This Before You Start)
Do:
Do clean first. Dirt kills adhesion.
Do align before sticking. You only get one clean shot for perfect rotation.
Do press edges firmly. That’s where most peel starts.
Do let it cure overnight. Strong bond = long-term win.
Don’t:
Don’t apply in extreme cold. Below ~10°C / 50°F, adhesives don’t grip well. If you have to install in cooler temps, warm both the surface and the decal gently first.
Don’t apply on a wet surface. “Almost dry” is not dry.
Don’t rush sizing. If the sticker is the wrong diameter for the cap, it will either wrinkle or float. Measure first. (See our size guideposts and browse compatible sizes in Wheel Emblems.)
Don’t touch the adhesive. Oils weaken the bond.
Will it last?
If you followed the steps above, yes.
A properly installed hubcap decal with good prep can handle:
Normal weather (rain, heat, cold)
Daily driving
Standard car washes after curing
Brake dust, road grime, etc.
High-quality domed emblems from Domed Emblems use automotive-grade adhesive and a resin layer designed for exterior use — meaning they’re built to live on the wheel, not just look good for a photo.
And if you ever want to change styles (for example, blackout logos vs. classic chrome, or switching from BMW-style roundel to something custom), you can warm the emblem gently, lift from the edge with a plastic tool, clean residue, and apply the next one.
Fast Q&A
How do I install a wheel emblem? Clean the center cap, align the logo, peel the backing, press from the center out, seal the edges, and let it cure. That’s the core of any “install wheel emblem” guide.
How do I apply a hubcap decal straight? Use a spoke or the valve stem as a visual “level.” Line up before pressing — you only get one perfect first press.
Do I need heat? Gentle warmth helps thicker domed stickers sit flush, especially on slightly curved caps. Don’t overheat; just warm.
Can I wash the car right after? Better not. Give it about 24 hours so the adhesive can fully grab.
Can I do this myself? Yes. This is 100% a DIY wheel sticker installation job. No shop required.
Bonus: Complete the look
Once the hubcap decals are on, you can finish the wheel area with matching Valve Caps for subtle detail or add branded keys / accessories with Keychains.For badges elsewhere on the car (grille, trunk, fender), check Metal Emblems.
These small touches tie the whole vehicle together visually without spending on new wheels.
Final Takeaway
Installing hubcap stickers like a pro is not complicated. Prep the surface, align once, press with intention, and be patient with curing.
If you do that, even a simple emblem upgrade from Wheel Emblems can make your BMW, Toyota, Audi, VW, Ford, Mercedes, Honda, Nissan — whatever you drive — look sharper, cleaner, and more “yours.”


